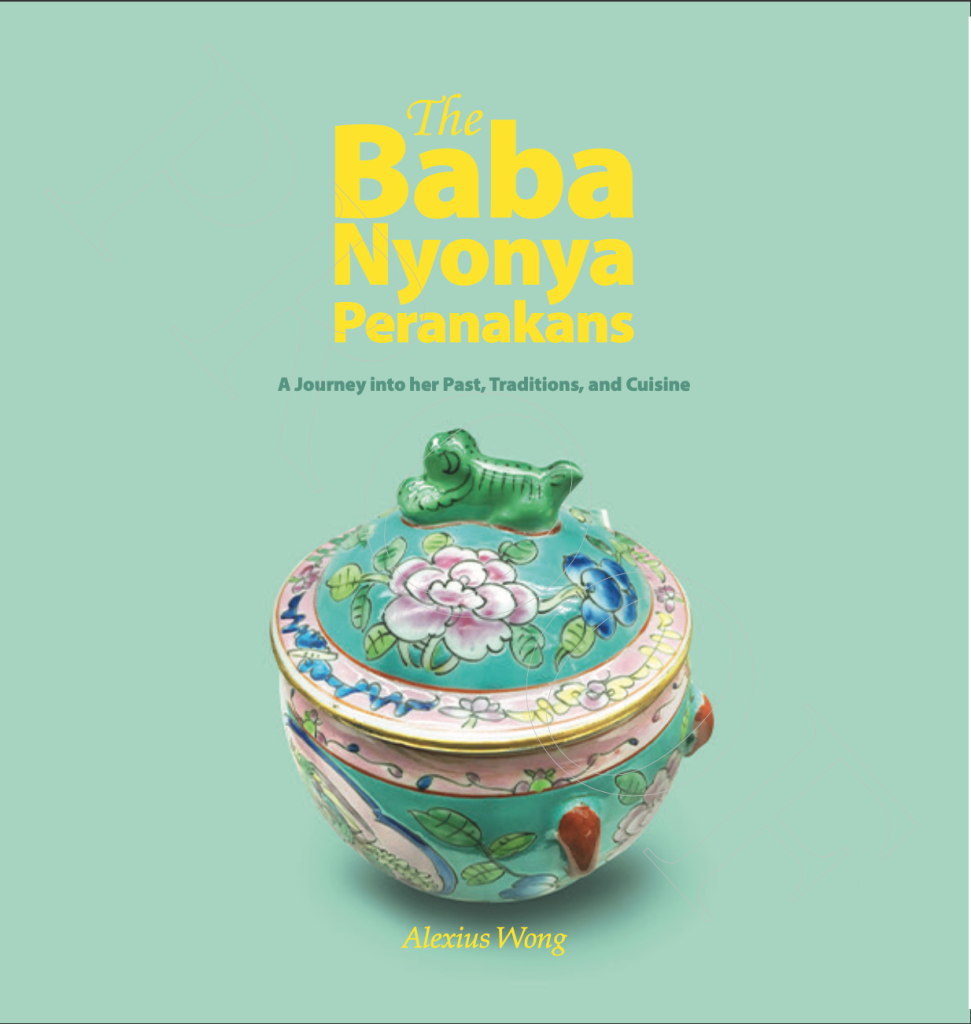
Baba Nyonya Peranakans informs readers with the History, Culture, Food, and authentic Recipes of this Southeast Asian culture of Malaysia and Singapore.
Author: wongeats
I'm a passionate gourmand, photographer and food blogger. I am blogging on my favorite places to eat, new eats, and new discoveries. I hope I can share my experiences with the readers. I believe that good food does not have to cost a fortune and it can be found nearly anywhere, as long you search and hunt those places down.
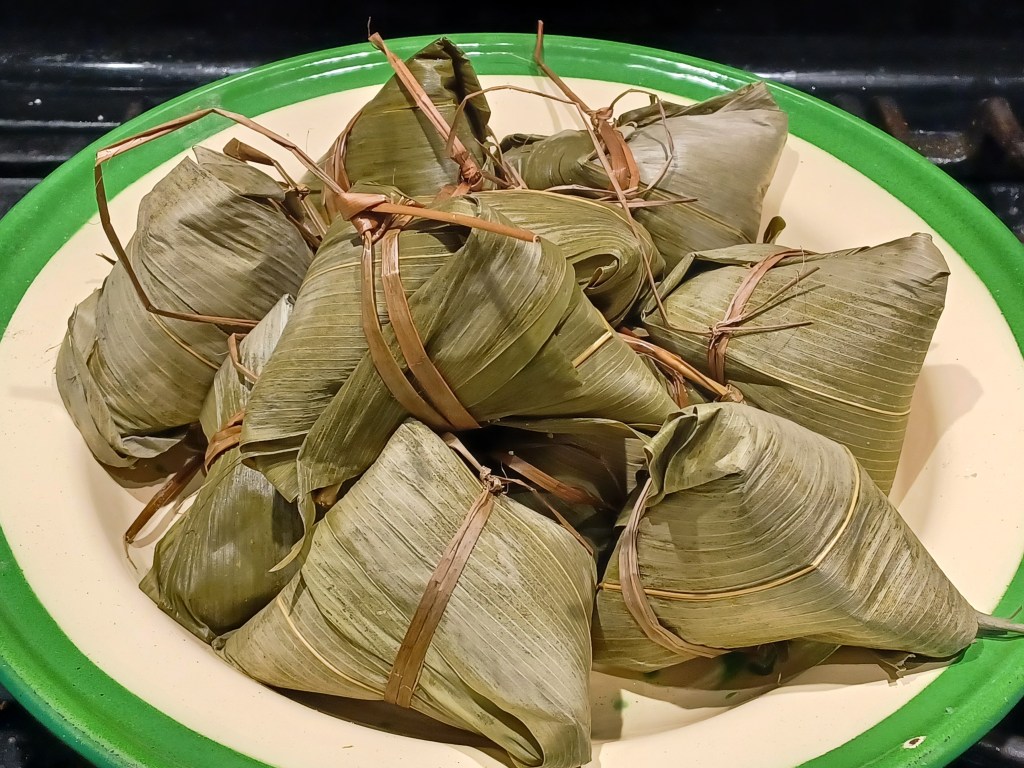
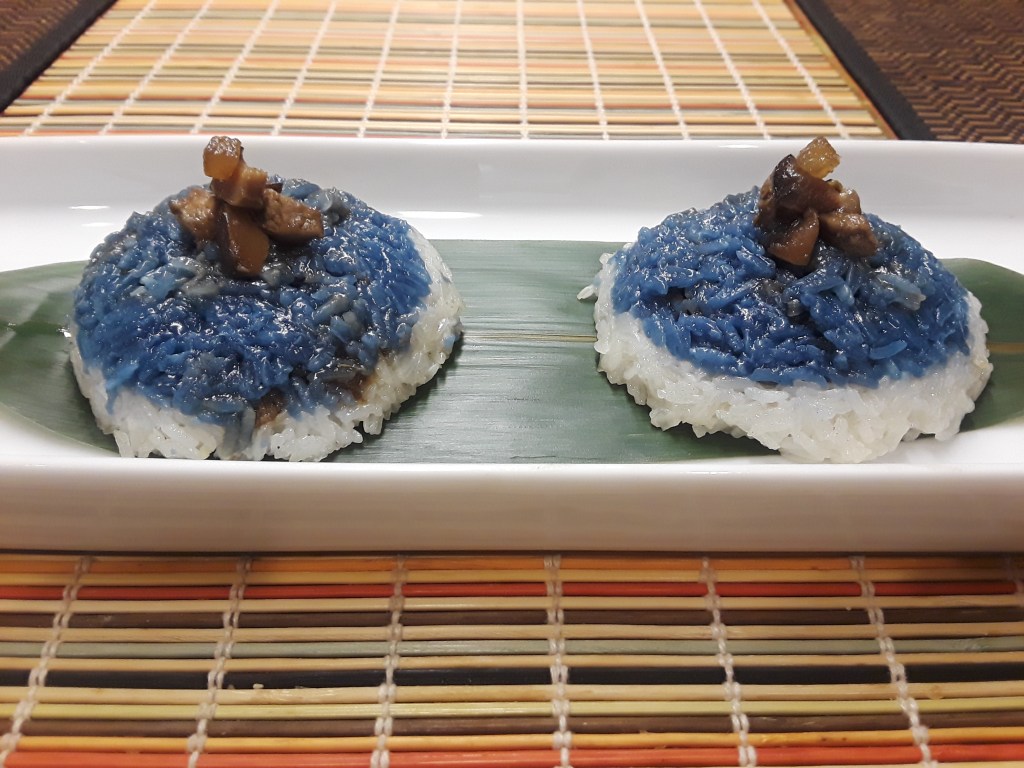
Making Kueh Chang each year reveals a tip that I am gradually remembering from the many years of watching my grandmother make it as I would sit there absorbing all her nuanced moves without me even trying it since I was not capable as a mere toddler. Also, my grandmother, like many Nyonyas like her, did things instinctively without providing explanations. This year, many more memories came back that guided me.
the initial folding on the cone is made at the 1/3 way point on the leaf side. I initially started at the 1/2 way point but there was not enough leaf flap to create a secure seal. Once I adjusted it, all was fine. Also, use long leaves and not shorter ones.
when adding the first bit of rice at the bottom of the cone, a deep indentation has to be made in it so as to allow an even distribution of meat stuffing in the corner, or, if not, the bite there will be pure rice which is not desired.
when adding the stuffing, it is added generously to create a mound, not flat, and away from the side leaves. This ensures that the dumpling has the right rice-to-filling ratio, and the dark stuffing would not be showing on the exterior when cooked.
when adding the rice to the filling, it is added around the filling first. This ensures that the filling is protected by the surrounding rice, and the flavors are not diluted in the boiling process. Also, make sure any rice clumps are broken up before adding to the leaves.
before closing the dumpling, the backside of rice touching the leaf flap is pressed down to lower it slightly. I can’t explain why my grandmother did this.
after folding and closing with the leaf flap, the excess leaf tip is turned towards the side where the initial cone makes a small flap located at the bottom of the cone running up on one side. This way, when tying the dumpling, the wrapping string will wrap both the cone flap and excess leaf flap at the same time to produce a secure package.
when wrapping the string a couple of times around the chang, pass the loose end on the side closer to the cone top tip to ensure that the wrapping stays in place and doesn’t slip down, which will only create a loosely wrapped dumpling.
the traditional seagrass string is the best as if you tie it too tight or hard, it will snap. It allows the correct tension as well as a bit of give for expansion when boiling. Using yarn or plastic string only leads to tying too tight or too much tension, creating a “tali pinggang” effect in the final product.
the excess leaf flap and string have to be cut off for a prettier bundle.
when boiling, at midpoint, the bottom ones have to come to the top. Extra boiling water is used to top it off when the water level becomes lower than the top chang.
With so many nuances, steps, and honed skill needed to create a food product, I think the art of chang making needs to be submitted for preservation as a cultural intangible.
Finally, I have solved a decades-long dilemma – making Sri Kaya/Coconut Cream Jam in around 30 minutes. Despite my penchant for this irresistible Southeast Asian staple (enjoyed in Malaysia, Singapore, Indonesia and Thailand), I shied from making it the traditional way (recipe found in my first book, The Baba Nyonya Peranakans) as it required the laborious process of stirring the custard mixture in a double boiler for around 2 hours. As a result, this highly-favored spread was prepared by me sadly only once a year.
Recently, I was given a batch by a Malaysian friend living down the road, and it got me thinking why I did not put in the effort into recapturing the flavors that were infused in my grandmother’s version, which I highly favored and have wafted through my day and night dreams of this distant longing. As my Mamah prepared this, I was always the eager very young assistant watching the double boiler on a fire fueled by dried coconut husk smoldering in a shallow pit. Watching her was a masterclass of her “agak-agak” skills, using only her well-honed senses to produce the perfect result. One slip in judgement or fire temperature would spell disaster resulting in sweet scrambled eggs, which I produced a number of times when I started testing her recipe.
Within this large conundrum of this deceivingly simple recipe were many challenges in order to produce a very close version to my grandmother’s. First was the time and labor issue – most people these days are put off by long cooking times and the constant vigilance. Then was the challenge of getting the full pandan flavor within a short period of time without resorting to artificial pandan paste, which carry an undesirable taste and color. Another was how to get the pandan flavor within the short process without it leaving a grassy note. To further shorten the time, I have cut the original recipe down into a quarter, which means a shorter time to cook and set the mixture.
Even though the quantity is a fourth of the original recipe, this method ensures that you have a fresh batch that can be made more often and within 30 minutes. This I much prefer rather than not having any due to dreading its time and labor. I hope you enjoy the recipe and be inspired to make this Nyonya classic spread often and bring it back to your dining room.
Ingredients:
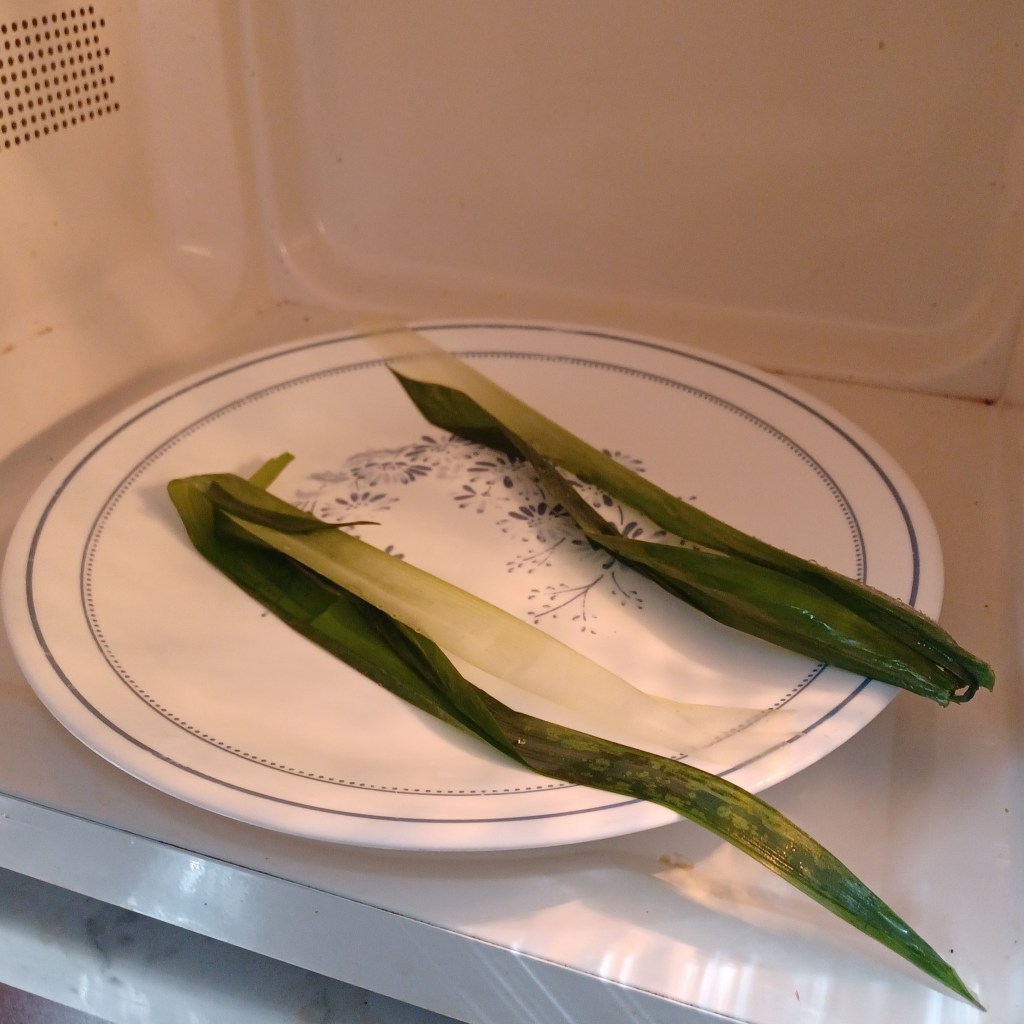
2 pandan leaf, fresh or frozen
¼ cup/ 60 ml coconut milk, canned (thick kind)–do not stir or shake it, or 1st pressing from freshly grated coconut
13 grams + 75 grams granulated white sugar, divided
3 large eggs
Equipment:
Microwave/Microwavable plate
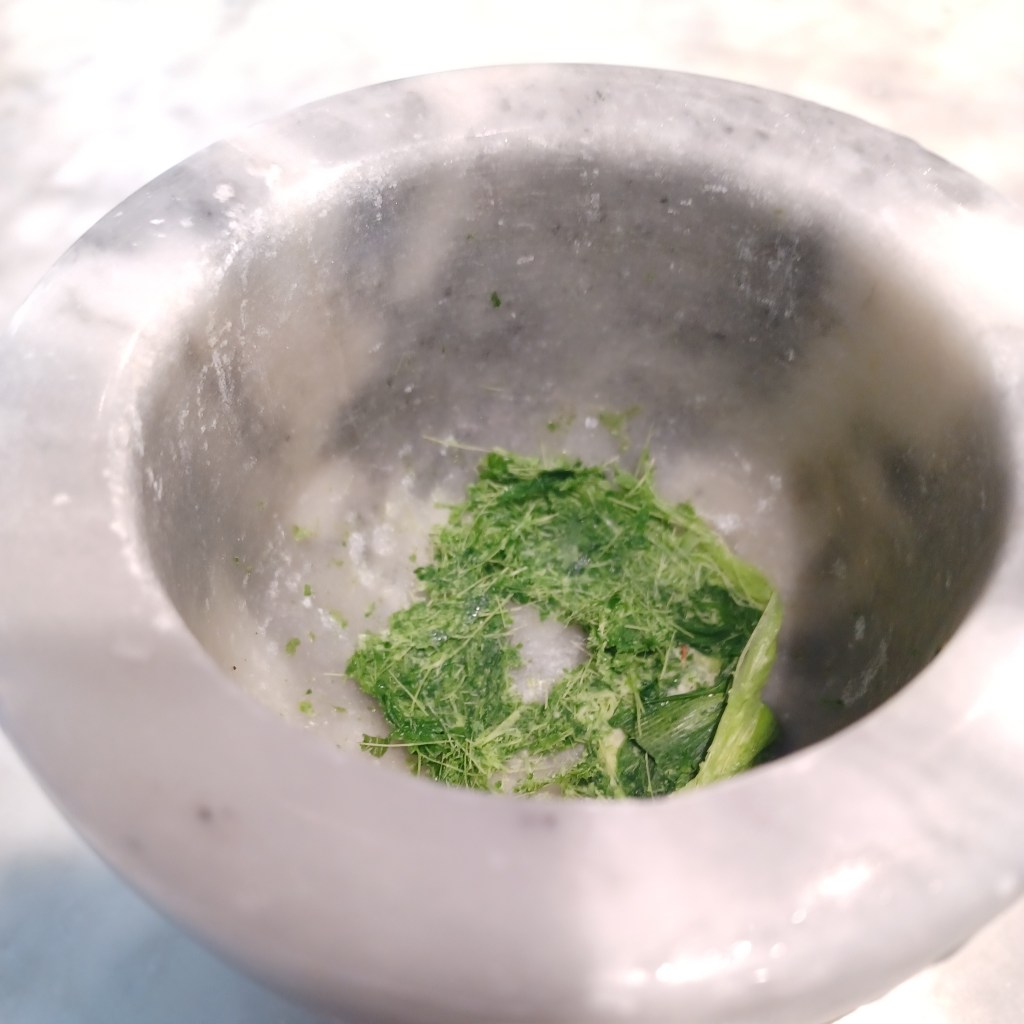
Mortar and Pestle
Small saucepan
Medium saucepan
Medium pot
Fine sieve
Straight-sided spatula, preferably silicon type
Microwave pandan leaf: If frozen, wash pandan leaf until defrosted.
Place it on a microwaveable plate. Microwave it on high for 30 secs for frozen, or 1 minute or more for fresh leaf until the leaf is wilted.
Crush leaf: Using a mortar and pestle, crush the leaf until the fibers are separated [or chop leaf with the coconut milk in a small food processor]. Remove and place it into the small saucepan.
Cook leaf: Scoop the top coconut cream from the can (or fresh 1st pressing) into the saucepan with the leaf. On a small-sized flame on medium heat, bring it to a simmer while using the back of the tablespoon to press the pandan leaf against the sides. Let it only simmer for not more than 1 minute. Turn flame off, cover, and leave it to cool.
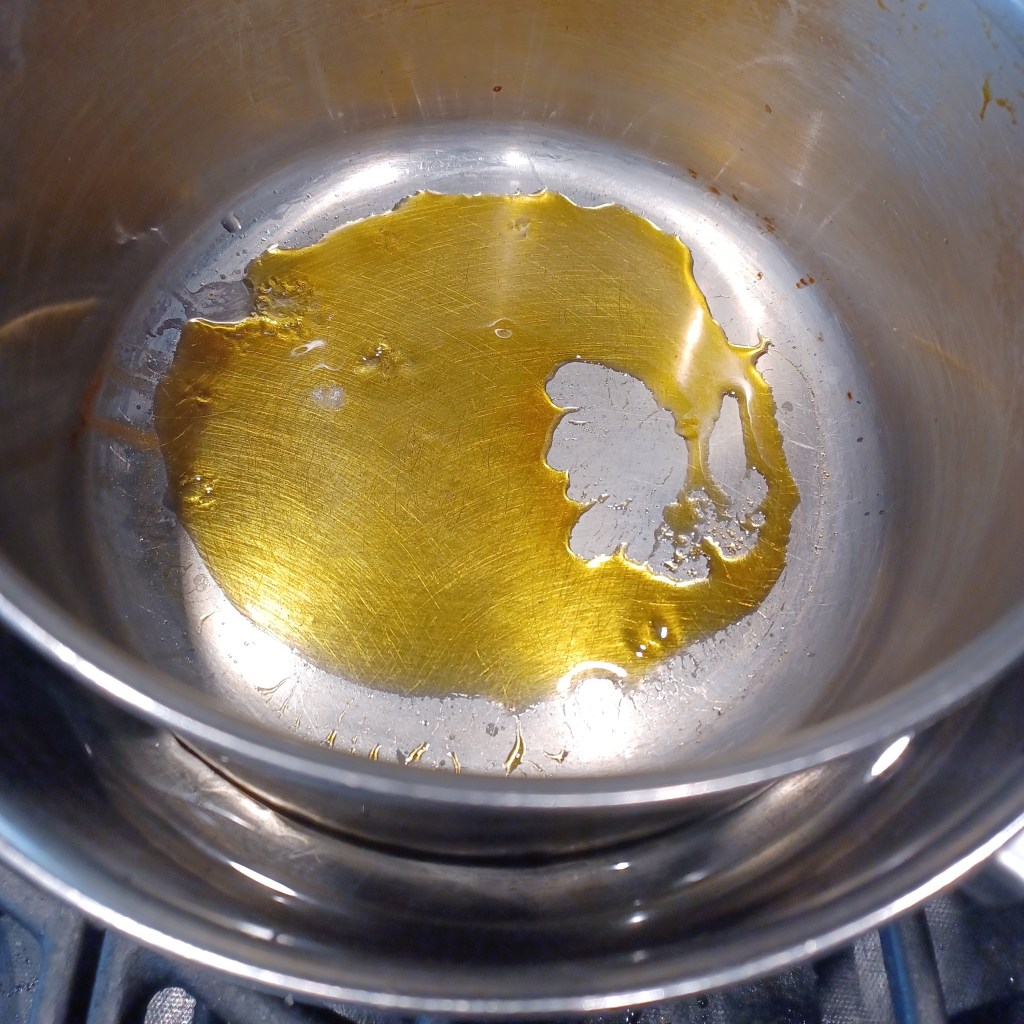
Caramelize sugar: Add the 13 grams sugar into the medium saucepan, and swirl to make sure it is evenly spread out. Place the saucepan on a medium-sized flame on medium heat. Quickly fill up the other medium pot with water until ¼ filled, and place the pot next to the caramel saucepan. Watch the caramelization carefully. You want it to go a blonde or hay color but not past this stage. When the desired color is reached, immediately place the saucepan into the pot of water to stop the cooking. Leave it to cool.
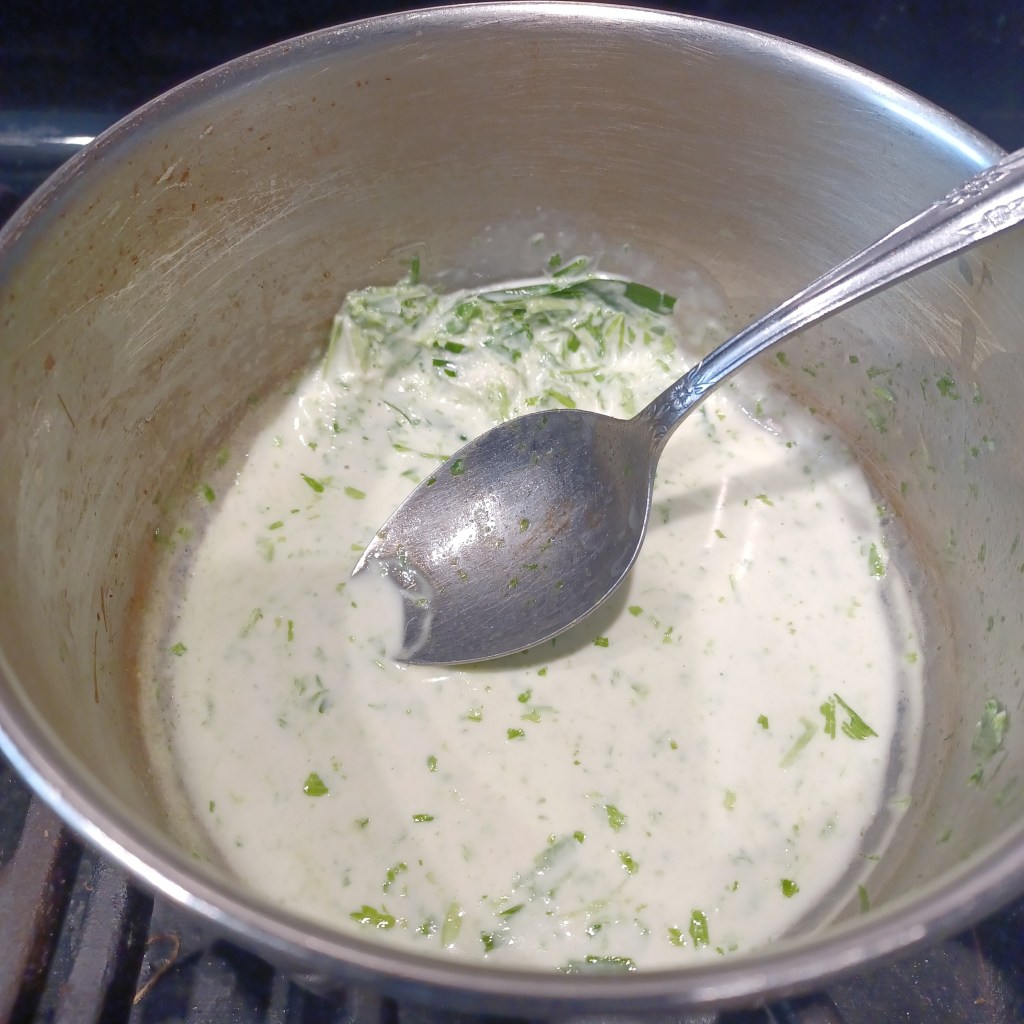
Mix sugar and eggs: In a bowl, add 75 grams of sugar. Break only 2 eggs and add to the sugar. With the 3rd egg, break it and add the whole yolk and only half the egg white. Mix with a fork until the sugar is well incorporated. Set aside.
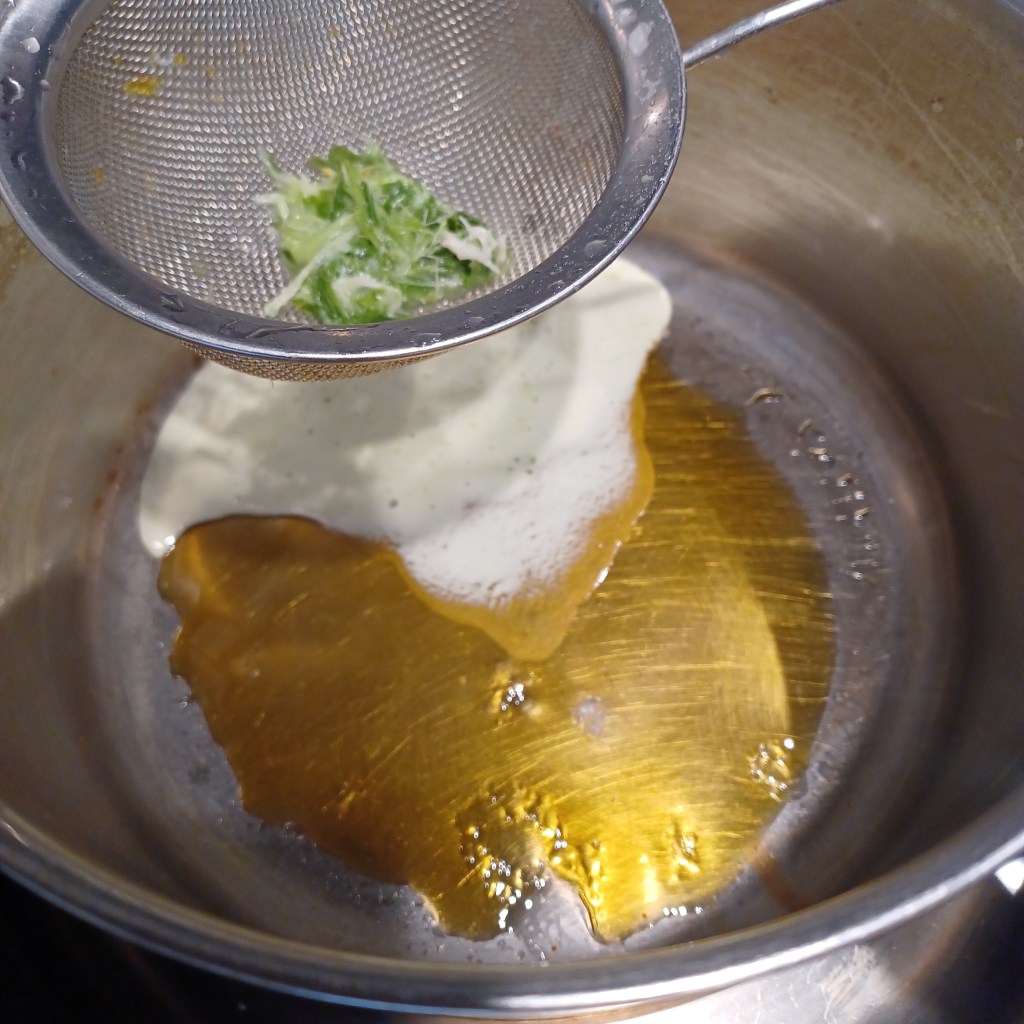
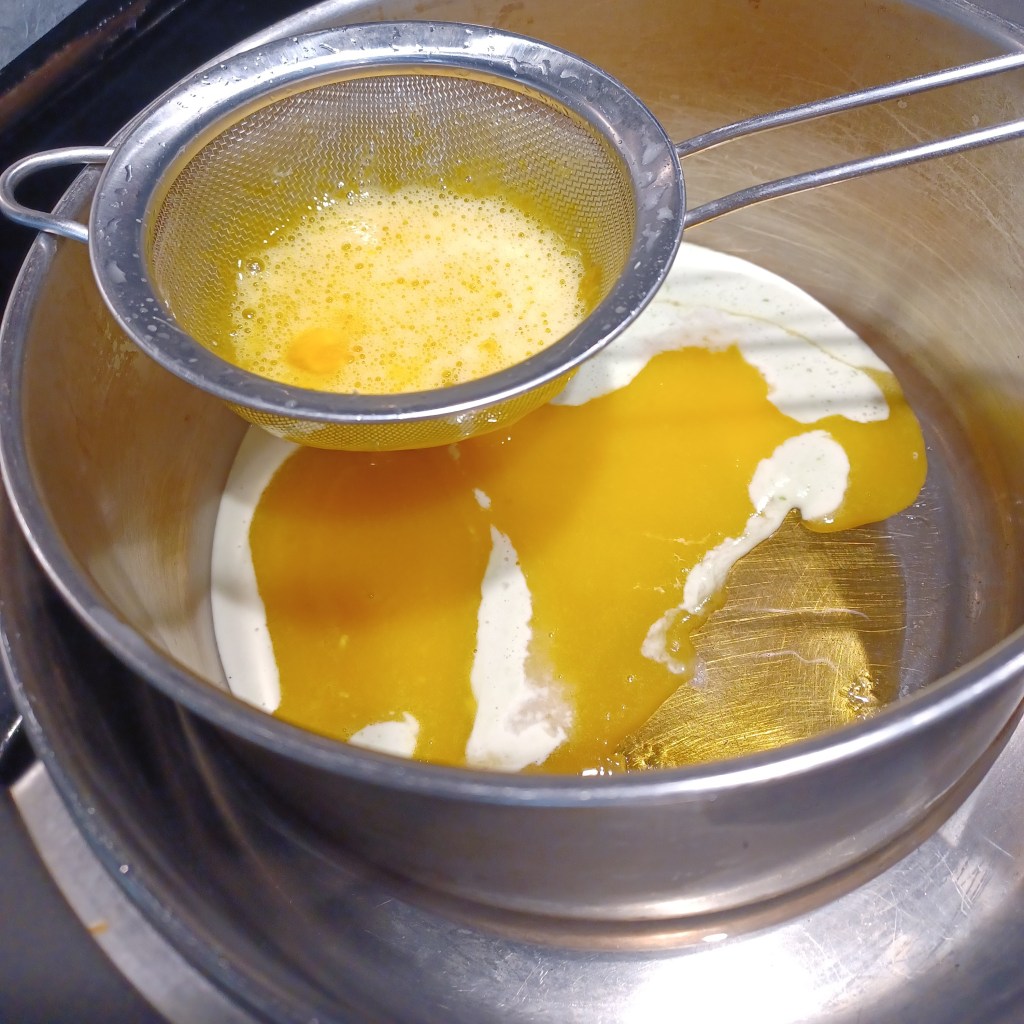
Sieve coconut cream and egg mixture: Into the caramel saucepan, use the sieve and filter the coconut cream while pressing the pandan leaf with a tablespoon – discard the leaf when done and rinse the sieve. Filter the egg mixture into the saucepan – stir inside the sieve with a spoon as well as scrape the bottom of the sieve. Discard any unfiltered egg.
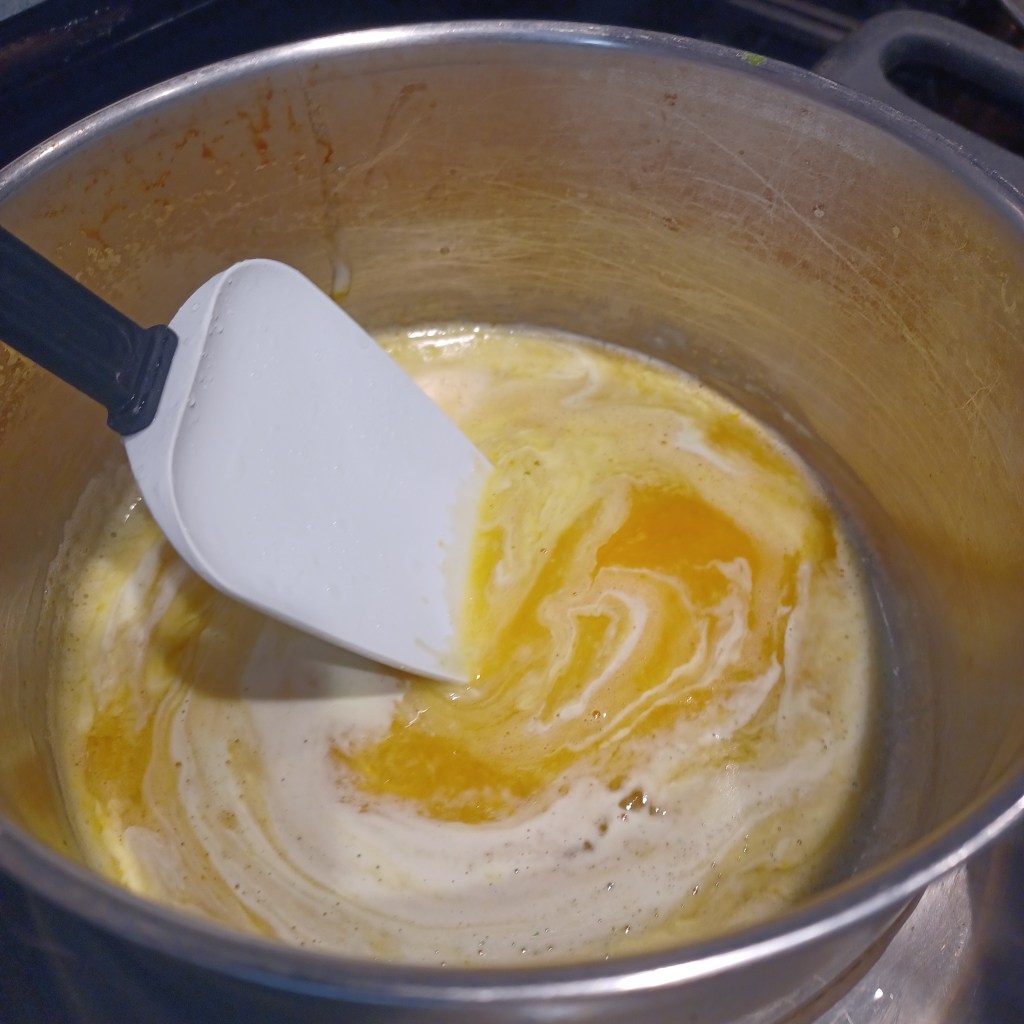
Cook mixture: Make sure enough water comes up the outer sides of the inner saucepan to reach the level of the inside mixture – pour off excess water so the saucepan is stable, or add more water if not enough (you may use a double boiler instead of this). Place the setup on a medium-sized flame on high heat. Using the spatula, scrape the bottom and sides of the mixture pot constantly. Watch the heated water carefully, and when it starts to produce bubbles to indicate boiling, immediately turn down the flame so that barely any bubbles rise.
Continue to cook until the mixture is quite thick but not scrambled – around 10 minutes or more. The final stage is indicated by when you can count 3 seconds when you can draw a line on the bottom with the spatula before the mixture comes together. Or the mixture is heated up to 77C or 170F. When ready, immediately remove the saucepan from the hot water. Pour cooked mixture into a bowl or a glass container (sterilized in boiling water) to cool down. When cooled down, cover and refrigerate immediately – do not cover before cooling as any condensation formed will spoil it.
Question mark symbol above vintage old book on blackboard background
Hi everyone,
I’m trying to get ideas and feedback from people who are interested in Nyonya/Peranakan food and cooking. Could you please fill out a survey form that won’t take more than 5 minutes? Your input will be invaluable in giving me ideas in which direction I should go with my writing.
I was recently interviewed by Universiti Malaya on the state of the Baba Nyonya Peranakan culture, and I shared my thoughts on its current state, the challenges, and what it could take to revive the culture.
I don’t claim to be an expert on the culture, but I shared my thoughts from years of research and writing about it.
Please watch this 2-part interview and feel free to discuss what was said. Kamsiah.
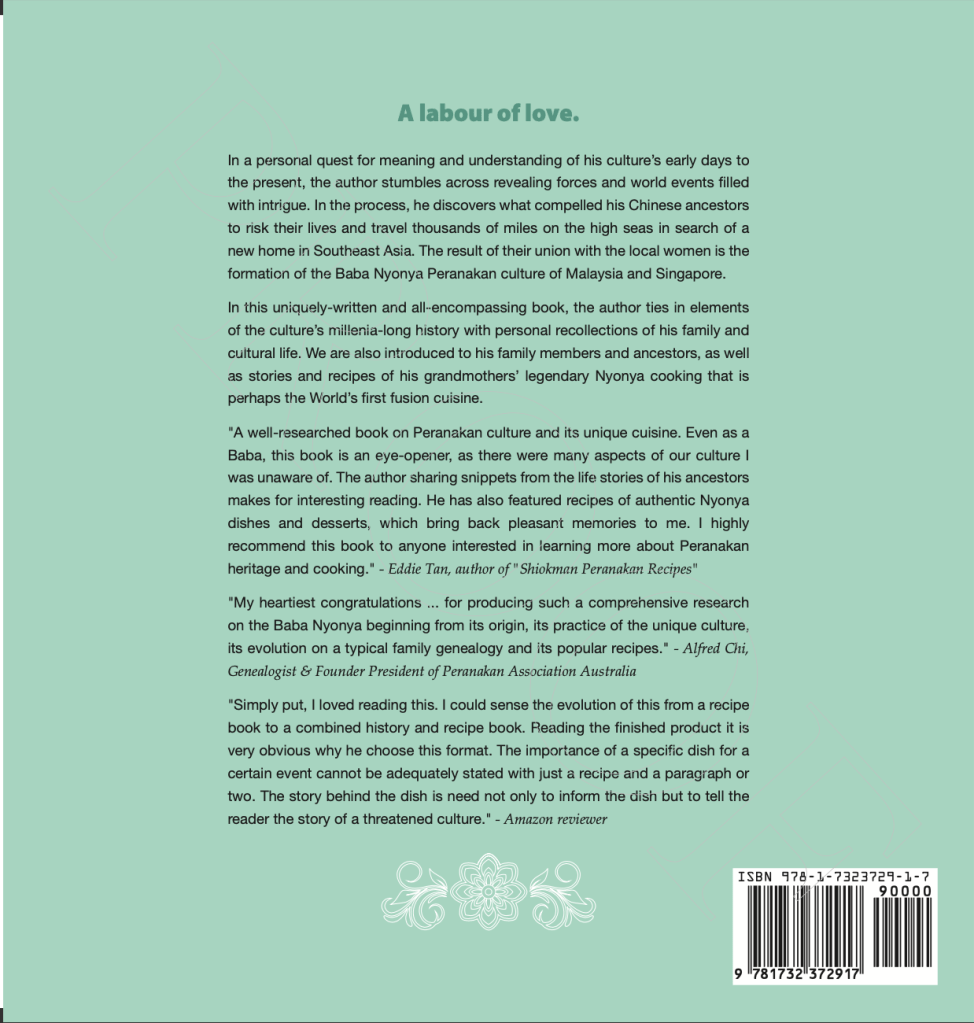
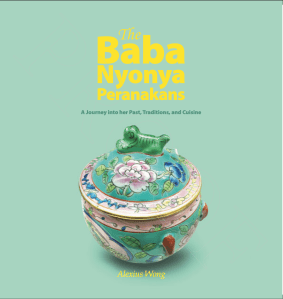
MY FIRST HARDCOVER BOOK ON THE BABA NYONYA PERANAKAN CULTURE WITH 32 NYONYA RECIPES IS NOW AVAILABLE FOR USD $35 (ORIGINAL PRICE $39) WITH FREE SHIPPING TO UNITED KINGDOM, UNITED STATES ($39), AND MELBOURNE REGION, AUSTRALIA. ADDITIONAL SHIPPING CHARGE FOR OUTSIDE THE ABOVE AREAS (S.E. ASIA INCLUDED).
It documents the History of the Baba Nyonya Peranakans and details the important Cultural Traditions and Celebrations, as I share my family stories growing up in such household.
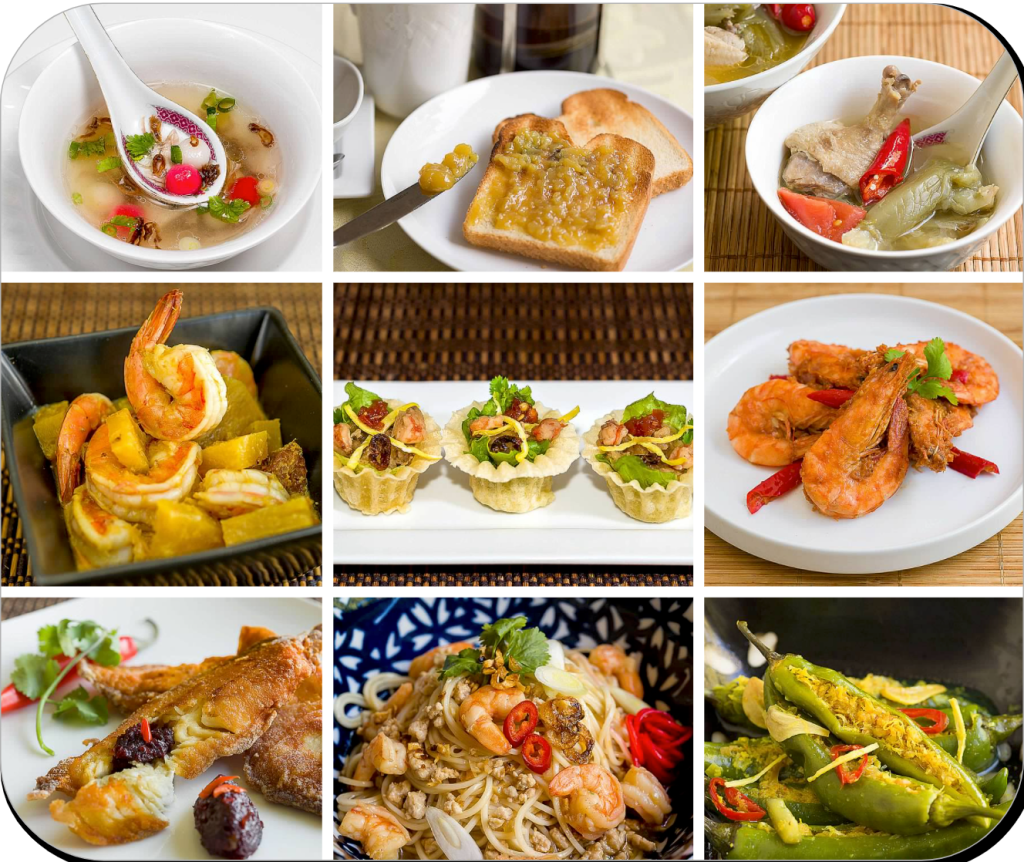
Each chapter showcases a Nyonya recipe (Poh Piah, Chap Chai, Tauhu Sumpat, Sambal Nenas Timun, Kobis Masak Lemak Puteh, Pongteh, Ayam Temprah, Asam Fish, Ikan Sambal, Udang Lemak Masak Nenas, Top Hats, Buah Keluak, Achar Chili, Itek Tim, Laksa, Mee Siam, Sri Kaya, Kueh Chang Nyonya, Kueh Ee, Pineapple Tarts, Bi Tai Bak, Kueh Angku, Kueh Bakul Goreng, Bubur Pulut Hitam, Tapeh Pulut, Bubur Cha Cha, and many more!) that my grandmothers were known for.
This beautiful book will make a great coffee table display and read, as well as serve as a document of our precious culture for many future generations.
ORDER FORM (The Baba Nyonya Peranakans Book only – hardcover)
ORDER FORM (The Baba Nyonya Peranakans Book only – hardcover)
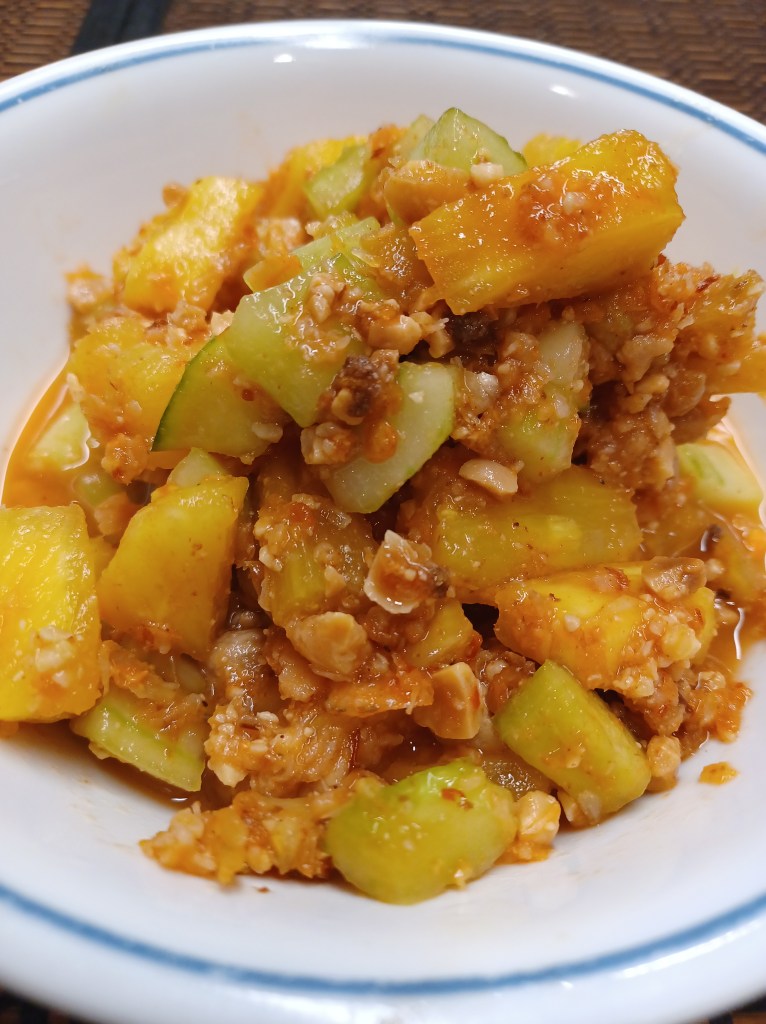
More than a week ago, I gave a cooking demonstration on Zoom of two classic Nyonya dishes, Udang Lemak Masak Nenas and Sambal Nenas Timun (photos of the finished dishes below). I am including the whole demonstration for you to watch how to cook these wonderful dishes, and also for you to get to know me as a cook. Enjoy! (Recipes from The Baba Nyonya Peranakans book)
Udang Lemak Masak NenasSambal Nenas Timun
The hardcopy and e-book of The Baba Nyonya Peranakans book (1st image) and Edible Memories e-cookbook (2nd image) are available – more information on the Homepage.
With the coming of the Lunar New Year, this Chinese sweet and fragrant pork jerky is a-must in most homes, whether traditional Chinese or Peranakan.
I recall following my Cantonese maternal grandmother (married into a Peranakan family) to Chinatown as we fought the crowds and vendors who suffocated the narrow streets with their merchandise, barely allowing room for anything else to pass through let alone any car. But the grill fumes from preparing this meat treat was always a welcome sight as the fragrant smoke wafted in the air to tempt the passerby. Invariably, my grandmother would stop at her favorite stall to purchase a few pieces for her grandchildren whom she adored.
Having left Malaysia for further studies, it was difficult to find long yok in the United Kingdom, and impossibly so when I moved to USA. But nostalgia is the mother of culinary invention. A few years ago, I started to notice recipes popping up on the internet. I gave them a try but I was not quite satisfied with their rendition. With some experimenting and tweaks, here is my version that is as close as I remember the flavors that I grew up as a child.
The recipe is very simple to make. However, the secret ingredient that I do not see in other versions is the use of Chinese licorice powder which is best grounded from slices of the dried stems. I am quite sure this will be hit with your loved ones as it is with my folks.
Printable Copy (link) – Recipe from Edible Memories e-cookbook
½ teaspoon Chinese licorice powder (ground and sieved from dried stems)
½ teaspoon cinnamonpowder
1½ tablespoons fish sauce
1½ tablespoons thin soy sauce
1 tablespoon oil
2 tablespoons Xiaoxing rice wine, preferably Rose wine
2 tablespoons dark soy sauce
3 to 4 drops of red food coloring
Step1: Mix the ground pork with the marinade. Leave it in the fridge overnight or at least 4 hours.
Step 2: Turn oven on to 250F/ 120C. Oil or line a large baking sheet with parchment or baking paper. Put the marinated pork on the baking sheet and spread the meat as thinly as possible to cover the whole sheet – use another baking sheet if there is extra meat. Bake on the middle rack for 20 minutes or until firm to the touch.
Step 3: Turn the oven up to 350F/ 175C. Bake for 20 to 30 minutes until pieces are sticky and quite dry.
Step 4: Remove from the oven. Using a knife or a pizza cutter, cut the meat into fairly large squares. Allow to cool.
Step 5: Grill pieces in an outdoor grill or place them under the broiler until they are slightly caramelized with slight charring. Wrap in wax paper or foil and freeze until needed.
The hardcopy and e-book of The Baba Nyonya Peranakans book (1st image) and Edible Memories e-cookbook (2nd image) are available – more information on the Homepage.
Throughout my years of researching and writing Nyonya recipes, this cookie has been extremely elusive and the most difficult for many reasons. My grandmothers never made these cookies when I was young, contrary to what many think of the superwoman Nyonya cook – I only recall them coming home with plastic containers filled with these bright white morsels and tasking the grandchildren to place red dots with toothpicks dipped in red dye. However, my father recalls seeing his mother make it during his youth with a covered kuali/wok over woodfire. Furthermore, I came across recipes that either were not successful or required sago flour that is impossible to find outside of Malaysia. So, in a way, I was either afraid of trying again or I had just thrown in the towel, literally!
However, my love for these sweet treats did not diminish with time, and my recollections of them were always the fondest and warmest memories of my grandmothers whipping up a culinary storm in the weeks of preparation for the Lunar New Year. Recently, I came across some recipes in Nyonya food groups on Facebook, and I noticed that the cookies were made with only tapioca flour which is easily available – this stirred up my curiosity and interest in it again. Besides, the beautiful wooden cookie moulds given by my sister years ago were gathering dust and beckoning me to give it another try. So I printed out a few versions and I studied them before I made a couple of batches. Below is my version of it.
Making Kueh Bangkit is deceptively tricky. The baking or frying of the flour with pandan leaves is to infuse it with the leaves’ aroma as well as to dry the flour out to produce a mouth-melting product. The use of the egg yolk with hardly any egg white attached is to avoid the stiffening protein from the white, and it is beaten with the sugar to lighten its yellow color – get store-bought and not farm eggs so that the dough will stay quite white. The dough has to be formed with just the right amount of coconut cream, not the milk, so that it is not only rich in flavor, but the cookie is flaky and soft due to the lack of excess water. The baking has to be at the right temperature and timing so that it is cooked but without the slightest browning. And finally, it has to be cooled down for a day so that the inside moisture distributes evenly throughout the cookie before it is consumed. In other words, lots of attention and precision must be given to the whole process, just like any wonderful complicated pastry.
When I showed the results of my cooking online in a group for expats in the USA, a lady remarked that there were so many good cooks and bakers in the group. I replied that necessity is the mother of invention, and so is nostalgia. I hope you are able to produce a successful bunch with my recipe and envelope yourself with fond memories of this cookie and growing up eating it.
I have provided an alternative it you do not possess a Kueh Bangkit mould.
Note: I tried another batch today using the baked flour straight out of the oven and once cooled down, and the end product had no noticeable difference compared to those made with 2-day old baked flour, as recommended by many Nyonya and recipes. I also made cookies with a 1¼-inch/3-cm cutter, and the recommended cooking time was fine.
Printable Copy (link) – Recipe from Edible Memories e-cookbook
60 grams/2.1 oz confectioners/icing sugar or caster sugar (very fine)
1 egg yolk, making sure as little egg white is attached
2 cans (400 ml each) coconut milk, the creamiest kind, or 800 ml fresh coconut milk
⅛ teaspoon regular salt
Red food coloring
Toothpick
Tools:
Baking or Parchment paper, not wax paper (optional)
Baking tray, large
Pastry brush, small (optional)
Kueh Bangkit mould or 1¼-inch/3-cm cookie cutters
Step 1 (can be made in advance): Turn the oven on to 300F/ 150C with the rack in the middle shelf. Pour the flour into a baking container or aluminium foil shaped like a bowl on a tray (for easy cooling later). Wipe the pandan leaves clean, cut into 2-inch/ 5-cm pieces, and hide them in the flour with equal spacing. Place flour into the oven and bake for 1 hour 30 minutes.
Alternative: fry this in a dry wok on medium-low heat for at least 45 minutes, stirring very gently (or the flour will fly everywhere) until the pandan leaves are dry and slightly brown.
Meanwhile, place the coconut milk into the coldest part of the fridge.
Step 2: Once baked, remove the flour from the oven. If it is to be used immediately, remove the foil onto a plate or pour the flour onto a cooler pan. Remove the pandan leaves carefully trying not to break the dried leaves. Allow to cool for around 30 minutes or more to room temperature. If reserving for another time, cover it with some plastic film once cooled. Sift the flour to measure 200 grams in a bowl, and the rest into a smaller bowl (around 2 tablespoons worth) – be careful not to pass pieces of dried pandan leaf through it.
Step 3: Remove the fresh coconut milk or 1 can from the fridge – the cream should have solidified slightly on the surface. Gently scoop the cream, while avoiding the separated water, to measure 100 grams worth – open the other can if more is needed. Add the salt and stir well. Set aside. Return the rest to the fridge to be chilled if more is needed.
Step 4: In a mixing bowl, add the sugar, and make a well in the middle. In the middle, add 3 tablespoons coconut cream and the egg yolk. Using a large whisk or hand mixer, gently beat this mixture for around 3 minutes until the yolk is pale in color and the mixture is completely smooth and it does not feel granular to touch (to make sure that the sugar is completely dissolved especially if using caster sugar).
Step 5: (will take around 30 minutes): Add the flour in 3-tablespoons increments to the sugar-egg mixture and mix well using a spatula. Add more flour until the mixture is quite stiff. At this point, add 1 tablespoon coconut cream and mix with the spatula, breaking up the dough. Add more flour and mix with your hands as you rub the dough pieces with your fingers. Continue adding the cream until 50% of it is used and all the flour has been added. You should have a very dry crumbly mixture.
Continue to add the coconut cream by ½-tablespoon increments by dripping it evenly over the dough. Use your fingers to break the larger dough pieces when mixing it. Continue to add the cream (not all used) until the dough barely comes together when gathering a handful into a ball – it should still crumble when pressure is applied. Cover with plastic film or moist kitchen towel.
Step 6: Turn the oven on to 300F/ 150C with the rack in the middle shelf. Place a baking/parchment paper big enough on a large baking tray – optional.
Step 7: Using a small pastry brush, dip it in the reserved excess flour and dust the mold indentations well. Shake off any excess but do not tap it on the countertop. Grab a small palmful of dough and squeeze hard to make it come together. Push the dough into the mold pattern making sure that it covers the whole indentation by pushing the dough quite firmly and evenly, with excess over the sides and mould top level (the dough should be a bit crumbly and fall apart easily – don’t panic).
When all the patterns in the mould are filled this way, use a butter knife to slide down the mould to shave off any excess. Turn the mould over and tap out the cookies on one end of the tray – you may have to turn the mould on the other end to tap out some stubborn ones. Repeat the process by dusting the moulds first. Arrange the cookies on the tray and use the brush to brush aside any fine bits of dough in between the cookies to a corner – remove with a spoon. If the dough is sticking to the mould, use a skewer or toothpick to clean the indentations before making the next batch of cookies.
Alternative: Roll or press down with hand on dough in small batches into ½-inch/ 1-cm thickness – if it is too crumbly, add a bit more coconut cream until it holds together more. Use the cookie cutters to cut the dough and transfer to the tray. Or you can push the original recipe dough into the cutter sitting on the tray to the above thickness.
Step 8: When the oven is hot enough, place the cookies in the middle rack with equal spacing from the oven walls. Set the timer to 15 minutes. At the halfway mark, rotate the pan so that the back of the tray is now in the front. The cookies should be colorless and as white as possible.
Step 10: After 15 minutes, turn the oven off and leave the cookies to cool down completely inside the oven. When cool, remove from the oven. Using the red food dye, dip the broader end of the toothpick into the dye and place a dot on the cookie, preferably the eye or the center.
Once cooled, place them in a storage container but do not close the lid tight for a day. They are best eaten the following day and after.
The hardcopy and e-book of The Baba Nyonya Peranakans book (1st image) and Edible Memories e-cookbook (2nd image) are available – more information on the Homepage.
I have recently created a video of make Kueh Change using a bowl method. Please check it out for a simpler way to making this much-loved dumpling that still retains the flavors and aroma. Kamsiah! Recipe from The Baba Nyonya Peranakans book.
The hardcopy and e-book of The Baba Nyonya Peranakans book (1st image) and Edible Memories e-cookbook (2nd image) are available – more information on the Homepage.
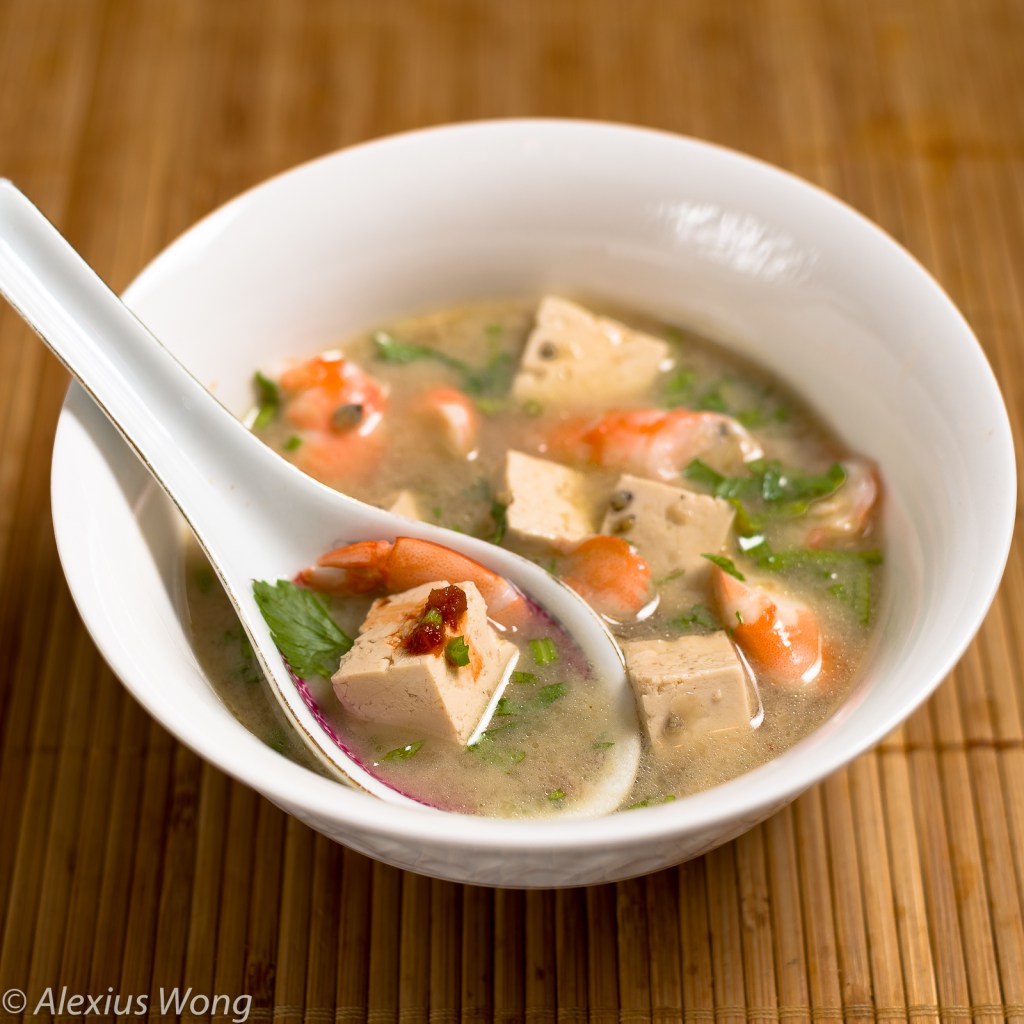
Tasting this soup always brings me back to my childhood when our family would make day trips to Bukit Rambai, Melaka, to visit our relatives that resided in the village that my father’s family grew up in. After around an hour’s drive on the superfast highway to Alor Gajah, my father would take a backroad that offered its passengers a more scenic and leisurely ride to my Aunt Nancy’s (Makkoh) house. I would always marvel at the red oxide soil that exuded a slight metallic smell in the air. And on top of the martian-like top soil, we could see small patches of pepper vines growing on bamboo stilts that would sometimes be weighed down by batches of green peppercorns. It must be sheer ingenuity and necessity that these spicy beads were incorporated as the prominent element in this quick yet full-flavored soup.
Tofu is a rather bland ingredient that is featured in this soup. However, in this recipe we see how the Peranakans have taken this Chinese staple in another direction that is typically Nyonya in its approach. Instead of a mild-flavored soup, like the rather similar Hokkien version, here we have a bold and full-flavored backdrop so that the tofu can act as a counterpart with its smooth and bland qualities. The strong flavors in the soup come from the use of garlic, shallots, Belacan (shrimp paste), dried salted fish, white peppercorns, and the garnishing of young Chinese celery and spring onion add strong herbal flavors.
In making this recipe, I prefer the traditional way of pounding the shallots and garlic in the mortar and pestle in order to extract more flavors into the soup, just like how my grandmothers would. Make sure you get the medium-firm or medium-soft tofu that is fresh. Also, do not use the salted fish product called Bacalao, but instead look for salted Ikan Kurau bones, or even dried Chinese Croaker will do. You may find young Chinese celery in most Asian Markets as its flavor is more subtle than regular celery.
My father would relish his favorite soup with some spicy and tangy samban belacan condiment on the pieces of Tofu and shrimp. I am sure you will enjoy this rather complex, spicy, and soul-satisfying Nyonya soup.
200 grams/7 oz medium-firm or medium-soft tofu, cut into bite-size pieces
100 grams/3.5 oz small shrimp, shelled (or medium size shrimp, cut into ½-inch pieces)
2 stalks Chinese celery (Cantonese: kahn choy) or Celery leaves, roughly chopped
2 stalks spring onion, chopped finely
White pepper, ground
Crush the white peppercorns in a mortar until there are still some small bits, not too fine. Remove and reserve.
In the mortar, crush the garlic, shallots, and Belacan together into a fine paste. Remove and reserve.
In a pot on medium heat, add the oil, and fry the processed paste until aromatic (around 4 minutes) – make sure not to brown the paste too much. Add the water, white peppercorns, and salted fish bones (or dried shrimp). Cover, bring to boil, and reduce the flame to simmer fairly gently for 30 minutes (10 minutes in a pressure cooker).
Meanwhile, prepare the tofu, shrimp, Chinese celery, and green onions according to the ingredient list.
After the soup has simmered for 30 minutes, and add ½ teaspoon salt or to taste. Raise the flame to medium, add the tofu and fresh shrimp, and cook until the shrimp is just cooked (1 to 2 minutes) — do not use the pressure cooker mode but instead with the saute mode and the cover open.
Add the Chinese celery and turn flame off.
To serve, pour soup into a large bowl, and garnish it with spring onions and a pinch of white pepper.
Serve with sambal belacan (recipe) on the side.
The hardcopy and e-book of The Baba Nyonya Peranakans book (1st image) and Edible Memories e-cookbook (2nd image) are available – more information on the Homepage.